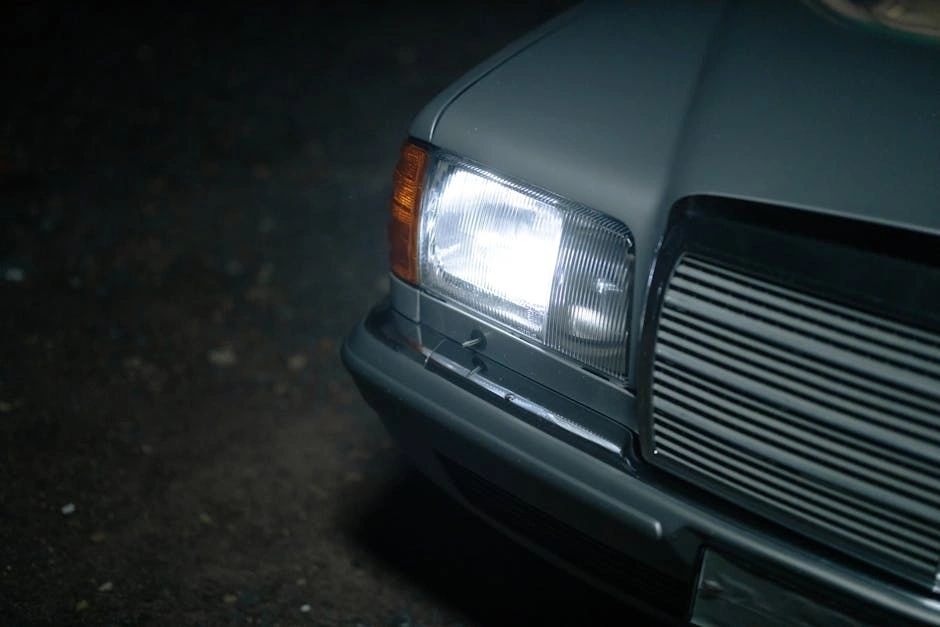
Easy Steps to Restore Your Headlights to Their Original Shine
Are dull headlights dimming the shine of your car? Discover the magic of headlight restoration and bring back the sparkle to your night drives!
Introduction to Headlight Restoration
Headlight restoration is a simple, cost-effective way to improve the look and safety of your vehicle. Over time, headlights can become yellowed and cloudy due to oxidation, significantly reducing night-time visibility. This guide will take you through the essentials of headlight restoration, ensuring your vehicle not only looks its best but also passes safety inspections with flying colors.
Assessing Your Headlights’ Condition
Before you start, assess the condition of your headlights. If the cloudiness is on the surface, restoration is a viable option. However, if you notice cracks or moisture, replacement might be the better route. A thorough inspection ensures you’re not wasting time or money on a solution that won’t work.
Gathering the Necessary Materials
For headlight restoration, you will need sandpaper (in varying grits), a clear coat, rubbing alcohol, and a microfiber cloth. Optionally, using a plastic or UV sealant will extend the lifespan of your headlights post-restoration. Ensure all materials are at hand to streamline the process.
It’s tempting to opt for a headlight restoration kit, which includes all necessary components. Whether you’re gathering each item individually or using a kit, quality matters. Higher grade materials lead to a clearer finish and longer-lasting protection.
The Step-by-Step Restoration Process
Start by cleaning your headlights with soapy water and drying them thoroughly. Begin sanding with the coarsest grit sandpaper, usually around 400 grit, working in a circular motion and keeping the surface wet. Progress to finer grits, up to 2000+, until the headlight appears clear. After sanding, apply a coat of rubbing alcohol to clean the surface.
The next step involves applying a clear coat or sealant, which protects the headlight from UV rays and prevents future yellowing. Follow the product’s specific instructions for the best results. Allow the coat to dry completely, ideally overnight.
Once dry, assess the clarity and protection level. If necessary, apply a second coat for extra durability. The entire restoration process can take a few hours but results in significant improvements in appearance and visibility.
Maintaining Your Headlights After Restoration
After restoring your headlights to their original shine, regular maintenance is key. Washing your car regularly, including the headlights, prevents dirt build-up. Apply a UV protectant spray every few months to fend off oxidation and keep the lenses clear.
Avoid using harsh chemicals when cleaning your headlights. Stick to automotive soap or specially formulated headlight cleaners. These measures will ensure your headlights remain bright and clear long after their restoration.
Headlight restoration is more than just about aesthetics; it’s about safety, visibility, and maintaining the value of your vehicle. Embrace the simplicity of these steps and enjoy the results every time you hit the road at night.
